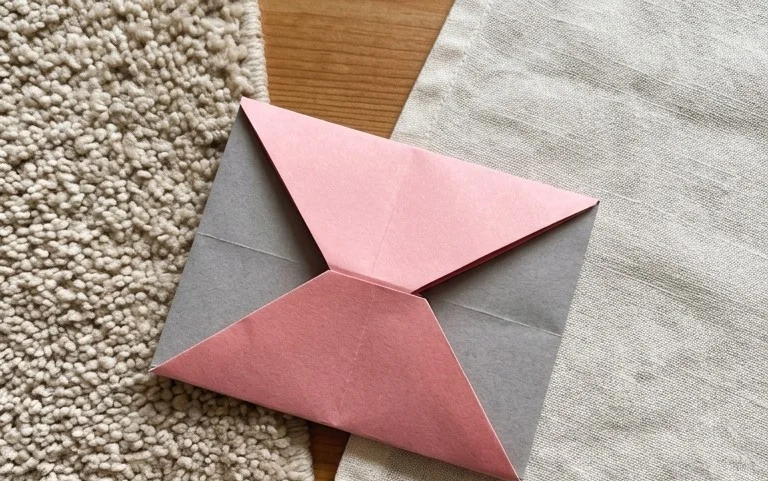
Easy Origami Plague Doctor Mask: Free Paper Craft Tutorial
Here’s a free pattern to make your own quilted plague doctor mask that’s sure to turn heads! Imagine a striking, stylized mask with those iconic long beak and stitched-looking details, all brought to life through the magic of paper folding. This project is perfect for anyone looking for a unique craft, whether you’re a complete beginner eager to try something new, a creative kid with a love for dramatic flair, or you’re searching for an unforgettable handmade gift. You’ll likely spend around 30-45 minutes bringing this fascinating piece to life.
In this tutorial, I’ll guide you step-by-step through the folding process, showing you how to transform simple paper into this impressive three-dimensional creation. We’ll cover all the key folds needed to achieve that distinctive plague doctor silhouette. Get ready to unfold your creativity and craft something truly special!
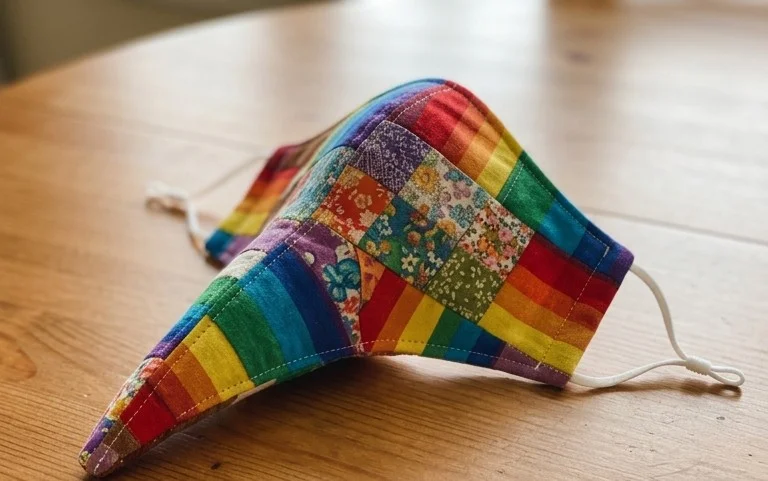
Crafting Your Own Quilted Plague Doctor Mask: A Paper Folding Journey
Hello fellow crafters! Today, I’m absolutely thrilled to share a project that’s both historically fascinating and incredibly rewarding to create: a quilted plague doctor mask, all made from paper. You might be thinking, “A plague doctor mask from paper? How’s that even possible?” Well, with a bit of clever folding and the right materials, we can bring this iconic and slightly spooky piece of history to life right on your desk. This project is a wonderful blend of origami precision and a touch of macabre charm. It’s also a fantastic way to explore some intermediate folding techniques without getting too overwhelmed. So, grab your paper, take a deep breath, and let’s embark on this folding adventure together!
Choosing Your Paper: The Foundation of Your Mask
The paper you choose is absolutely crucial for this project. It will dictate the structure, the look, and even the feel of your finished mask. For this specific quilted plague doctor mask pattern, I highly recommend using a good quality kami paper or a similar origami paper. Kami paper is specifically designed for origami, meaning it’s strong, crisp, and holds a crease beautifully. It’s also generally available in a wide array of colors and patterns.
When it comes to weight, aim for something around 70-80 gsm (grams per square meter). This is a standard weight for origami paper and provides a good balance of being sturdy enough to hold the shape of the mask without being too thick to fold accurately. Avoid very thin tracing paper, as it will be too flimsy, and anything too thick, like cardstock, as it will resist folding and create bulky, imprecise creases.
The size of your paper will determine the final size of your mask. For a good, substantial mask, I recommend starting with a square sheet that is at least 20cm x 20cm (about 8 inches x 8 inches). You can certainly go larger if you want a more dramatic display piece, or slightly smaller for a more delicate charm. For this tutorial, we’ll assume you’re starting with a 20cm x 20cm square.
Now, for the all-important question: single or double-sided? For this quilted effect, I strongly suggest using *single-sided* paper. This allows the contrasting color or pattern on the back to become visible as we create the “quilting” effect. If you only have double-sided paper, you can still make the mask, but it won’t have that distinct quilted look. You might consider using a very dark color for the front and a slightly lighter shade for the back for a subtle contrast, or a patterned paper for the front and a solid color for the back.
Mastering the Base Folds: Precision is Key
Before we dive into the mask itself, let’s talk about making your folds clean and precise. This is the cornerstone of origami, and for a project like this, it truly makes a difference.
- Creasing: After making any fold, use your thumbnail or a bone folder (if you have one) to firmly run along the crease. This makes the fold sharp and helps the paper hold its shape. Don’t be afraid to press down!
- Alignment: Always ensure that edges meet edges and corners meet corners as precisely as possible. Even a tiny misalignment at the beginning can cascade into larger inaccuracies later in the folding process.
- Orientation: Pay close attention to which side of the paper is facing up and which direction you are folding. I’ll do my best to describe this clearly in the steps.
The Folding Sequence: Bringing Your Mask to Life
Now, let’s begin the folding. Remember to crease each step firmly!
- Start with your square of paper with the *colored side facing down* and the *white side facing up*.
- Fold the paper in half diagonally by bringing the bottom left corner up to meet the top right corner. Crease well, then unfold.
- Now, fold the paper in half diagonally the other way, bringing the bottom right corner up to meet the top left corner. Crease well, then unfold. You should now have an “X” crease on your paper.
- Turn the paper over so the *colored side is facing up* and the *white side is facing down*.
- Fold the paper in half horizontally by bringing the bottom edge up to meet the top edge. Crease well, then unfold.
- Fold the paper in half vertically by bringing the left edge over to meet the right edge. Crease well, then unfold. You should now have a “+” crease on this side, making a total of eight radial creases from the center.
- This is where we begin forming the mask’s structure. Take the bottom edge and fold it up to meet the center horizontal crease. Crease well.
- Now, take the top edge and fold it down to meet the center horizontal crease. Crease well. Your paper should now look like a rectangle.
- This next fold creates the iconic beak shape. Take the right edge of the rectangle and fold it inwards so that it meets the vertical center crease. Crease well.
- Do the same with the left edge: fold it inwards so it meets the vertical center crease. Crease well. Your paper should now be a long, narrow rectangle with two folds meeting in the center.
- Now, we’re going to reverse one of these folds to create the beak’s structure. Take the right side of the folded section and fold it *backwards* along the existing crease, so the edge you just folded to the center is now tucked *behind* the main body of the paper. Crease firmly. This is an inside-reverse fold, which might feel a little tricky. You’re essentially opening up the flap you just folded and tucking it behind itself.
- Repeat the inside-reverse fold on the left side. Take the left side of the folded section and fold it *backwards* along the existing crease, tucking it behind the main body. Crease firmly. You should now have a pointed shape at the center, resembling the start of the beak.
- Now, let’s make the “quilting” visible. Take the right flap (the one we just inside-reverse folded) and fold it *outwards* so the edge that is now visible on the side is aligned with the outer edge of the main body of the paper. Crease well. This fold will bring the colored side of the paper to the outside, creating the quilted look.
- Repeat this outward fold on the left flap. Fold it outwards so the edge aligned with the outer edge of the main body of the paper. Crease well. You should now have a symmetrical pointed shape emerging from the center.
- Turn the entire model over. You should see the back of the paper, which is likely white or a different color.
- Fold the entire model in half vertically, bringing the left side over to meet the right side. Crease very firmly, as you are folding through multiple layers.
- Now, we need to shape the eyes. Take the top point (where the beak is) and fold it downwards at an angle. The exact angle will depend on how large you want the eye sockets. I usually aim to fold it down so the tip of the fold is about two-thirds of the way down the side edge of the mask. Crease well.
- Repeat this on the other side. Take the corresponding top point on the other side and fold it downwards at the same angle. Crease well. These will become the upper edges of your eye sockets.
- To refine the beak, we’re going to do another inside-reverse fold, but this time on the very tip of the beak. Gently open the very tip of the beak slightly, then push it inwards and downwards, creating a small, inverted V-shape. Crease firmly. This gives the beak a more defined and slightly curved shape.
- Finally, to shape the bottom of the mask, take the bottom edge and fold it upwards by about 1-2 cm (about half an inch). Crease well. This creates a slightly more finished edge.
Common Pitfalls and How to Avoid Them
As you’re folding, you might encounter a couple of spots where beginners commonly get a little stuck. Don’t worry, it’s completely normal!
- The Inside-Reverse Fold: This is often the trickiest part. When you’re asked to fold a flap *backwards* and tuck it behind. The key is to gently open the flap you’ve just folded to the center, and then push the point inwards so the crease you made is now on the inside. If it feels too stiff, you might need to soften the original crease slightly before attempting the reverse. Imagine you’re tucking the flap into itself.
- Uneven Eye Sockets: Making the eye folds symmetrical is crucial for the mask’s appearance. Always try to fold the second eye socket to match the first as closely as possible. You can even hold the paper up to the light briefly to compare the angles if you’re struggling.
- Bulky Creases: If your creases feel too bulky or not sharp enough, it’s usually down to either the paper weight being too high, or not pressing down hard enough when creasing. Ensure you’re using the right paper and really pushing along those folds.
Making it Your Own: Variations and Personalization
One of the joys of paper crafting is the ability to personalize your creations. Here are some ways you can make your plague doctor mask truly unique:
- Size: As mentioned earlier, start with a larger square for a bigger mask, or a smaller one for a miniature. Experiment with different paper sizes to see what scale you prefer.
- Paper Pattern: Go wild with your paper choices! Instead of plain colored paper, try using patterned papers. Think antique maps, celestial prints, spooky Halloween designs, or even textured papers like faux leather or parchment. For the “quilted” effect, a contrasting solid color on the back will work best.
- Color Combinations: The color combination is where you can really play. Dark, brooding colors like deep reds, blacks, and purples evoke a classic plague doctor. For a more whimsical take, try brighter colors or even metallics. If you’re using single-sided paper, consider what colors will look good when they are revealed by the folding.
- Embellishments: Once the mask is folded, you could add a dab of glue and some glitter to the eye sockets for a touch of sparkle, or even carefully draw some decorative elements onto the paper before you start folding (though be mindful that the folds will distort any drawings).
Displaying and Gifting Your Creation
Once your beautiful quilted plague doctor mask is complete, the fun doesn’t stop! Here are some ideas for how to showcase or share your work:
- Wall Art: Mount your mask onto a piece of black cardstock and frame it. It makes for a striking and conversation-starting piece of wall art, perfect for Halloween or for anyone with an interest in historical curiosities.
- Desk Ornament: The mask has a natural ability to stand upright, or you can prop it up against something on your desk or bookshelf. It’s a fantastic way to add a touch of unique character to your workspace.
- Gifting: This mask makes for an incredibly thoughtful and unique gift for friends or family who appreciate historical items, quirky art, or handmade crafts. Package it in a small box with some tissue paper for an extra special touch. It’s a gift that shows you’ve put in time, effort, and care.
- Costume Accessory: While this paper mask isn’t intended for actual wear due to its delicate nature, it can certainly be adapted as a lightweight decorative element for a costume. You could attach it to a headband or a cardboard base if you wanted to incorporate it into a larger outfit.
I hope you’ve enjoyed this detailed walkthrough. Creating this quilted plague doctor mask is a wonderfully engaging project that offers a tangible and impressive result. Remember to be patient with yourself, enjoy the process, and celebrate each perfectly creased fold. Happy folding!
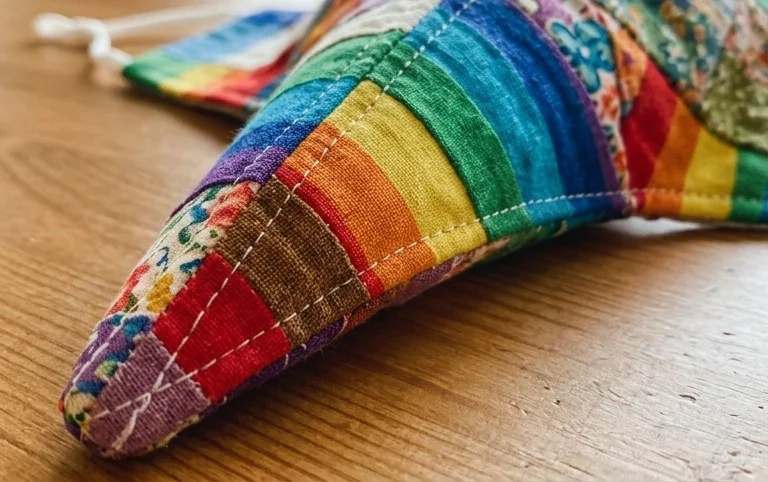
Conclusion
Congratulations on completing your very own quilted plague doctor mask! We hope you enjoyed this creative journey and that your finished model brings you a unique sense of accomplishment. Remember, your first attempt is simply practice, so don’t be discouraged if it’s not perfect. Embrace the process and celebrate your progress!
We’d love to see your incredible creations! Share your completed origami plague doctor mask with us – your artistry inspires others. For your next adventure, why not try a larger scale version for a dramatic display, or perhaps a miniature size to adorn your workspace? Don’t stop here; explore our other paper projects and continue to delight in the endless possibilities of origami.